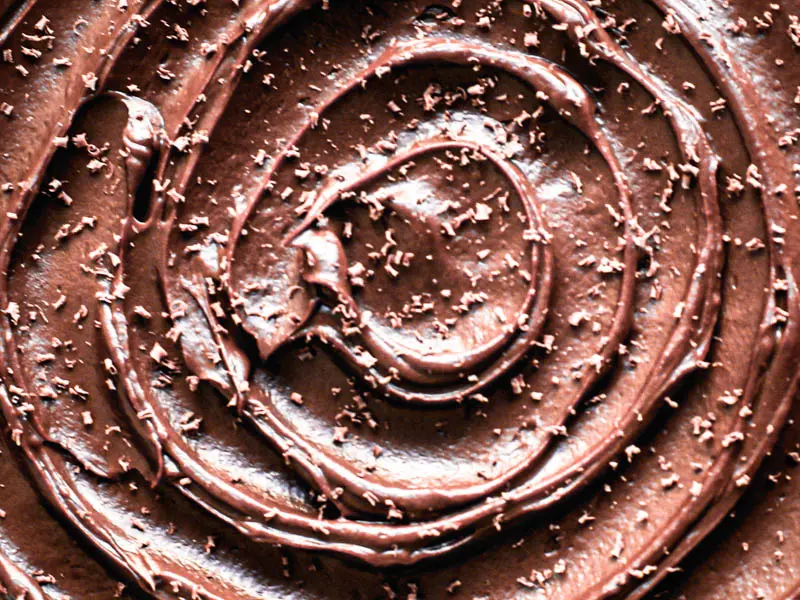
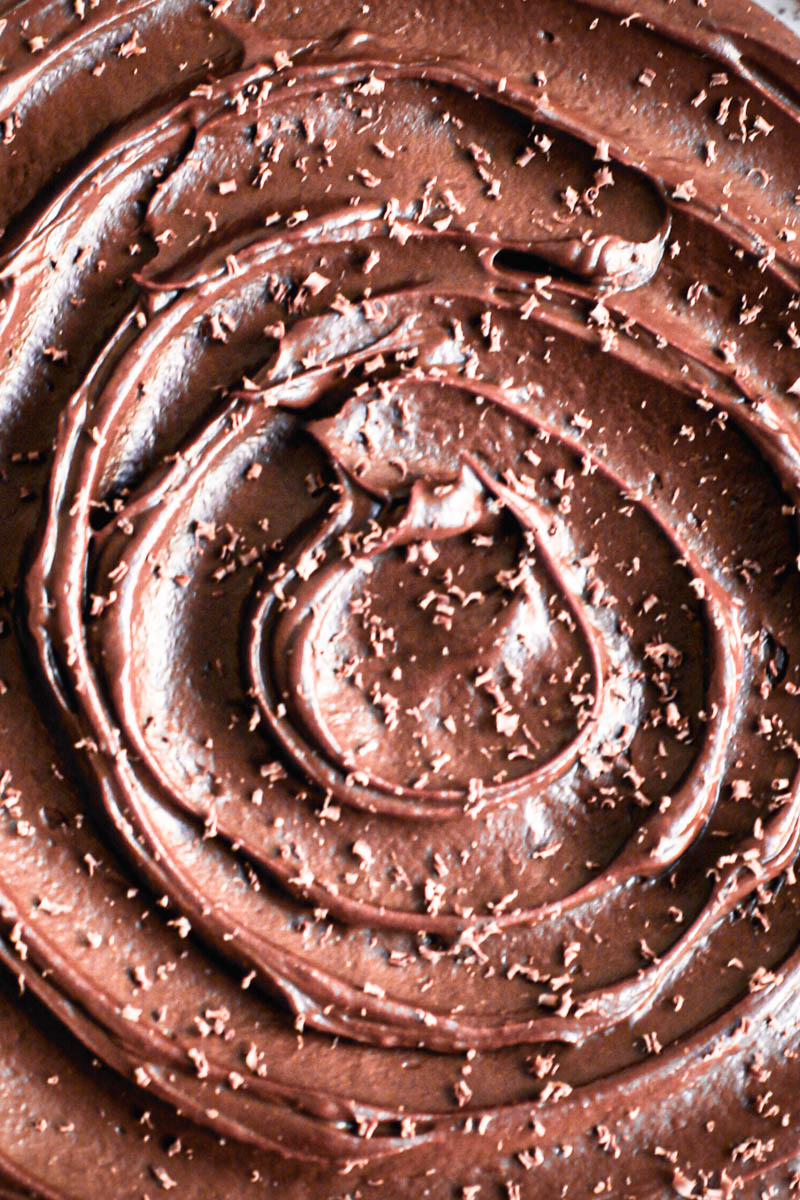
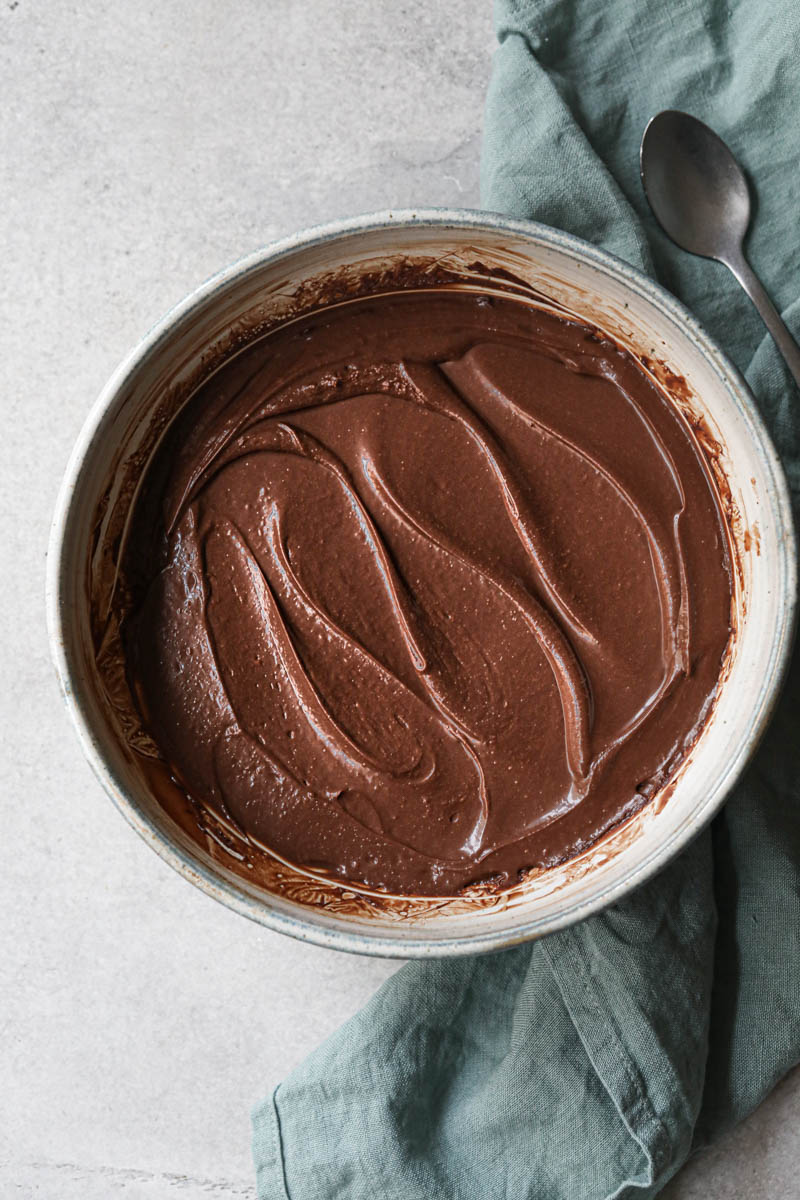
This creamy dark chocolate ganache is made with milk, heavy whipping cream, dark chocolate and finished off with butter. Making chocolate ganache is simple and you will be amazed with all the things you can do with it, for example, these dark chocolate truffles, how to make your ganache thick enough to use it as frosting for a cake, cupcakes, financiers, or runny enough to pour it over your cake as icing or glaze. You will get all the tips and tricks to have a creamy, smooth, and shiny ganache that is not grainy or full of air bubbles. I can’t wait for you to try it out.
Material & Ingredient Notes
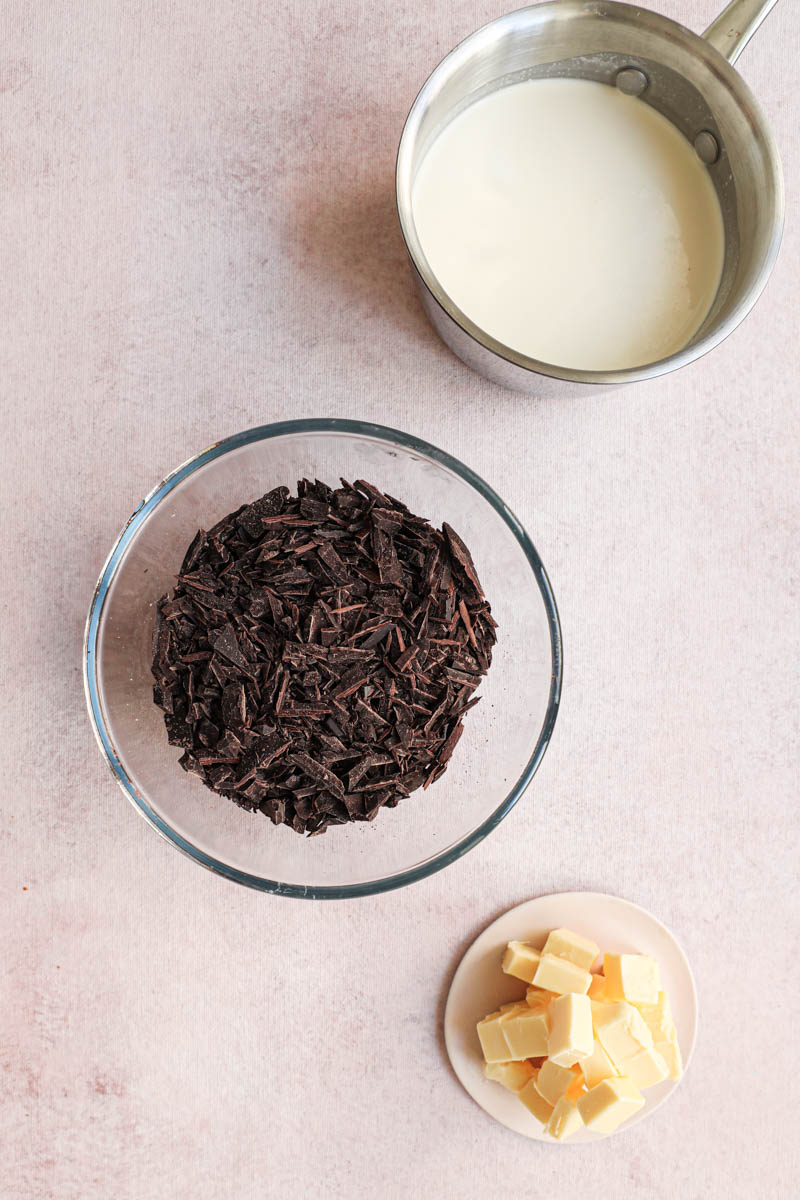
- Heavy whipping cream: must be full fat, with a minimum fat content of 30%.
- Whole milk: makes the ganache a little thinner, you can replace it with cream and only use that.
- Dark chocolate: use good quality chocolate. I personally use Valrhona or Callebaut.
- Butter: must be at room temperature when added into the ganache so that it mixes in easily.
- Whisk: a small manual whisk to emulsify the ganache.
How to make this recipe
Making dark chocolate ganache is simple, you just have to:
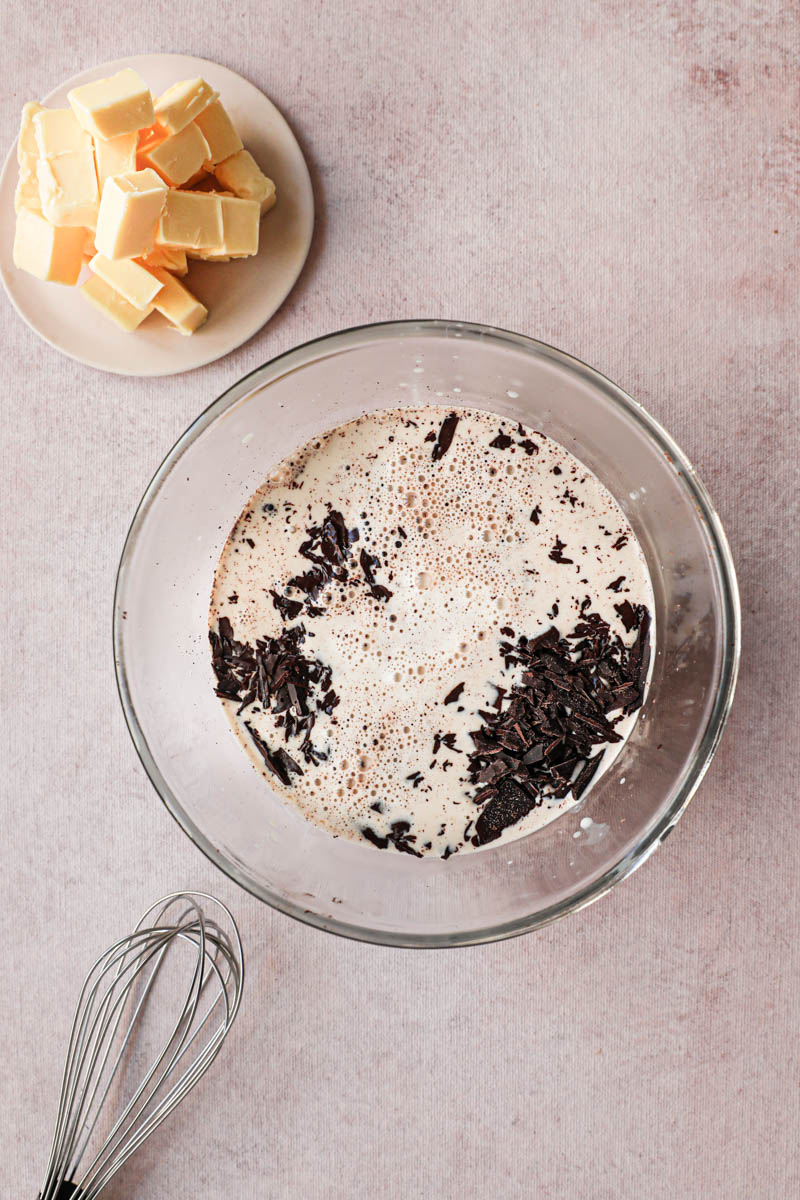
- Bring the milk and cream to a simmer
- Pour over the chopped dark chocolate
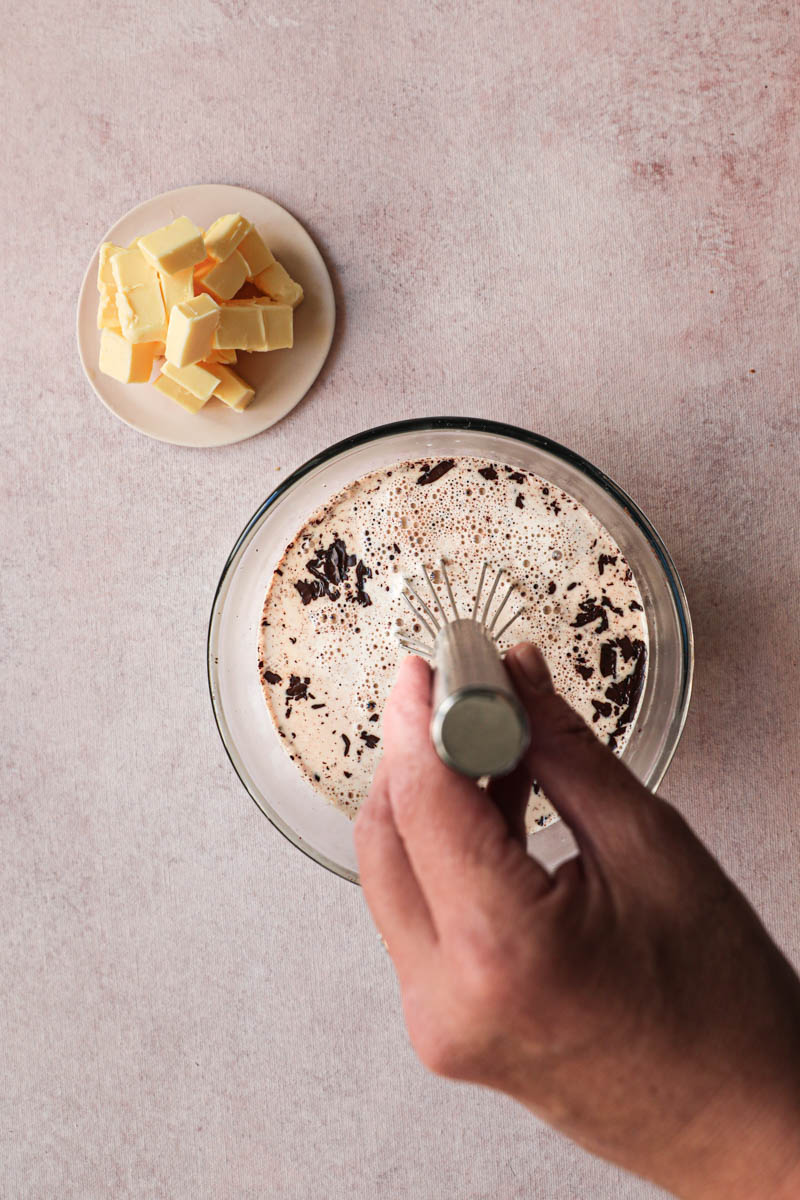
- Whisk until smooth
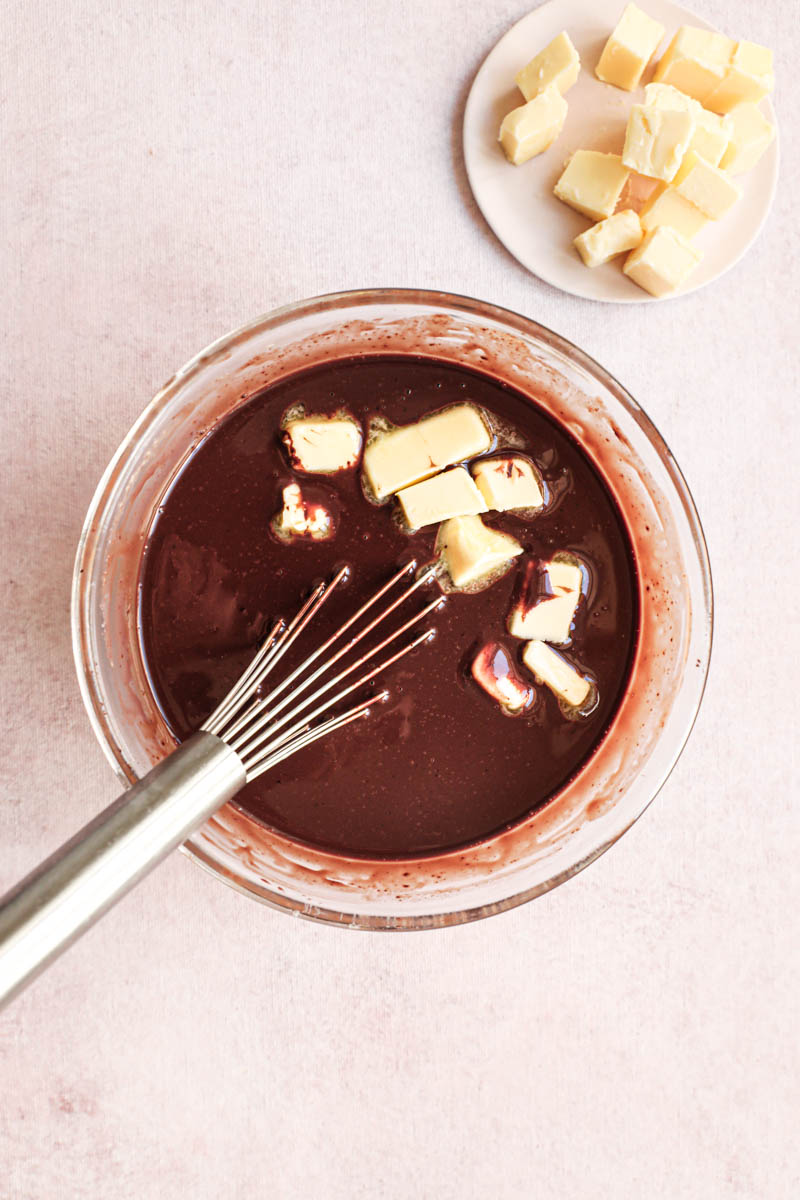
- Whisk in the butter
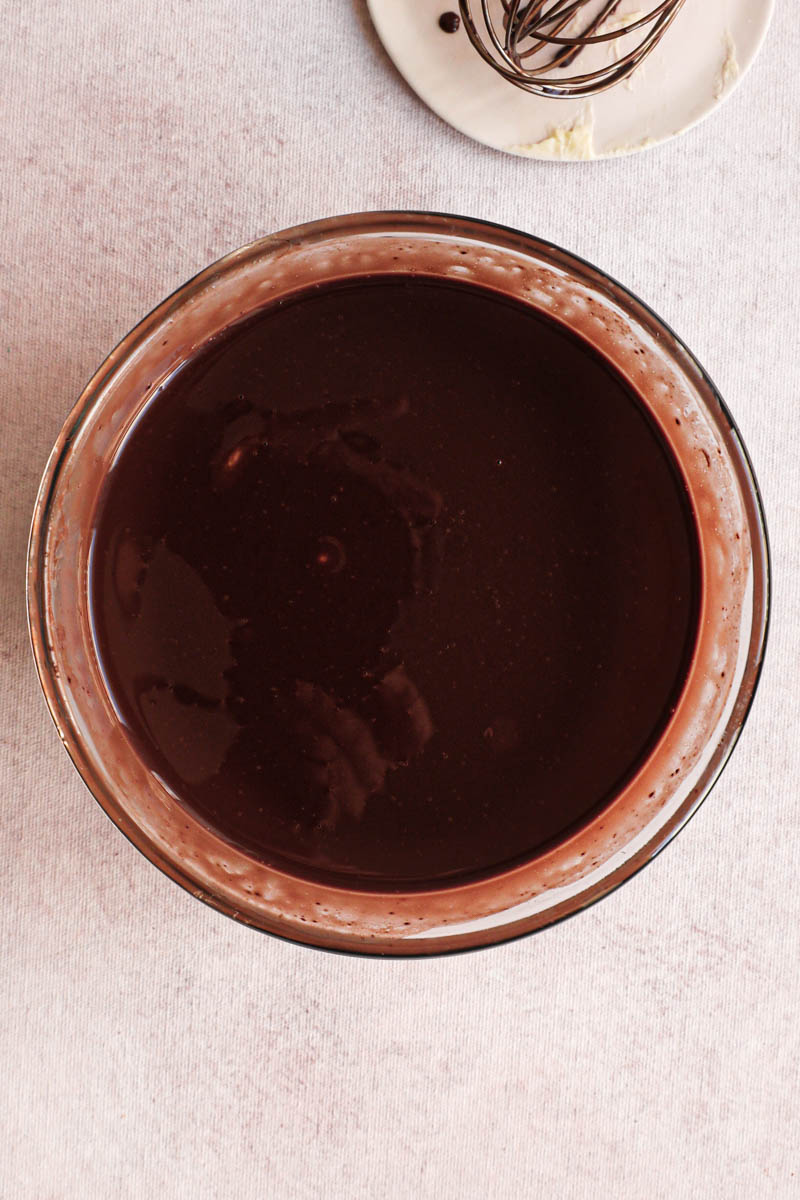
- Cover and let the creamy chocolate ganache set at room temperature until ready to use
Recipe Notes
- Chop the chocolate (even it is already in smaller pieces) to help it properly melt into the cream/milk mixture.
- DO NOT melt the chocolate before adding the cream/milk. This will increase the chances of your ganache breaking or splitting.
- The heavy cream and milk should not be boiled; Just brought to a light simmer then immediately poured over the chopped dark chocolate.
- Once you have poured the milk over the chocolate, let the mixture sit, untouched for about 2 minutes.
- To emulsify the chocolate ganache, use a whisk, and perpendicular to the center of the bowl, start moving the whisk in small circular movements, very slowly.
- Once the mixture starts changing colors at the center, you can amplify the circular movement to continue the emulsion.
- ALWAYS keep the whisk perpendicular to the work surface and work in slow motion. This will prevent air bubbles from forming and it will allow for a smooth and shiny ganache.
- Add the butter cut into small cubes and at room temperature so that it easily incorporates into the chocolate ganache.
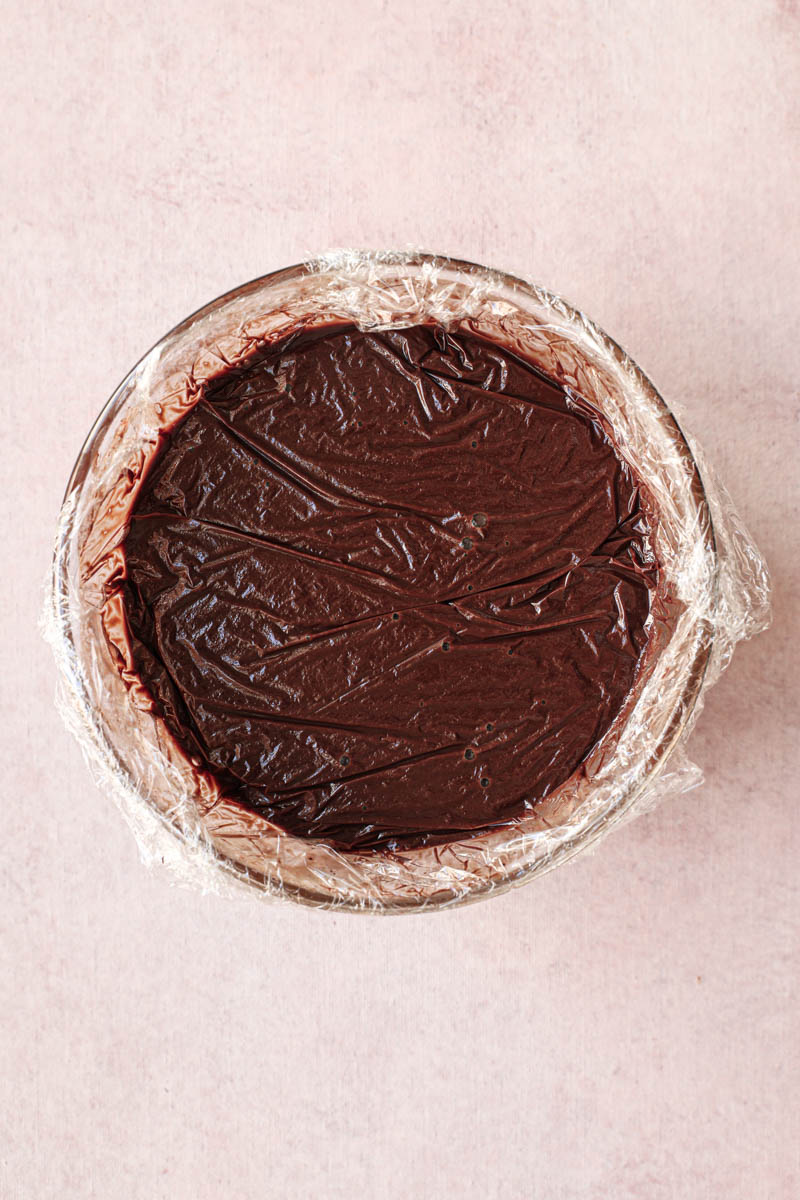
- Once it is ready, use saran wrap to cover it. You want the saran wrap touching or in contact with the ganache surface as this will prevent a hard layer from forming on the surface.
Expert Notes
- If your ganache is grainy, it is because the chocolate has not melted completely (probably not chopped enough). In this case, place the bowl over a water bath, and whisk the ganache until the chocolate has completely melted and you have obtained a smooth creamy ganache.
- If the chocolate ganache separates, it is due to the cream being poured over the chocolate when it is too hot (it was boiling and not simmering)! To fix this, use an immersion hand blender and give the ganache a good mix. If still broken or separated, you can add a little warm milk and whisk once again.
- If there are small air bubbles present in the dark chocolate ganache, you can mix it with an immersion hand blender to remove them.
Making Ahead
Chocolate ganache can be made up to 2 days in adadvnce and kept at room temperature covered with saran wrap.
Storage tips
Dark chocolate ganache keeps at room temperature, for up to 2 days. It must be placed in a hermetic container, then properly covered with saran wrap or plastic wrap that is in contact with or touching the ganache surface to prevent a small crust from forming on the surface. And finally covered with the lid of the container.
To make it last longer, chocolate ganache can be refrigerated. It lasts for up to 2 to 3 weeks. You can tell when it is no longer good as it will change its color. When ready to use, leave at room temperature until it has a spreadable consistency (about 1 hour), or you can warm it up over a water bath to rush the process if in a hurry.
Freezer instructions
This dark chocolate ganache can be frozen. It keeps for up to 3 months.
To do so you must place in a hermetic container, cover it with saran wrap (it should be touching the surface of the ganache) and covered with the lid. To be sure no air or water from the freezer will harm the ganache, wrap the container in a layer of saran wrap and place in a freezer bag.
To defrost: Place in the refrigerator overnight, then place at room temperature for about 1 hour or so until the ganache can be spread.
Tips on how to use dark chocolate ganache
Chocolate ganache can be used as a base for chocolate mousse, as a cake frosting, and filling. It can also be used as a glaze or icing for cakes, donuts, and other cakes.
The difference will be the texture of the ganache:
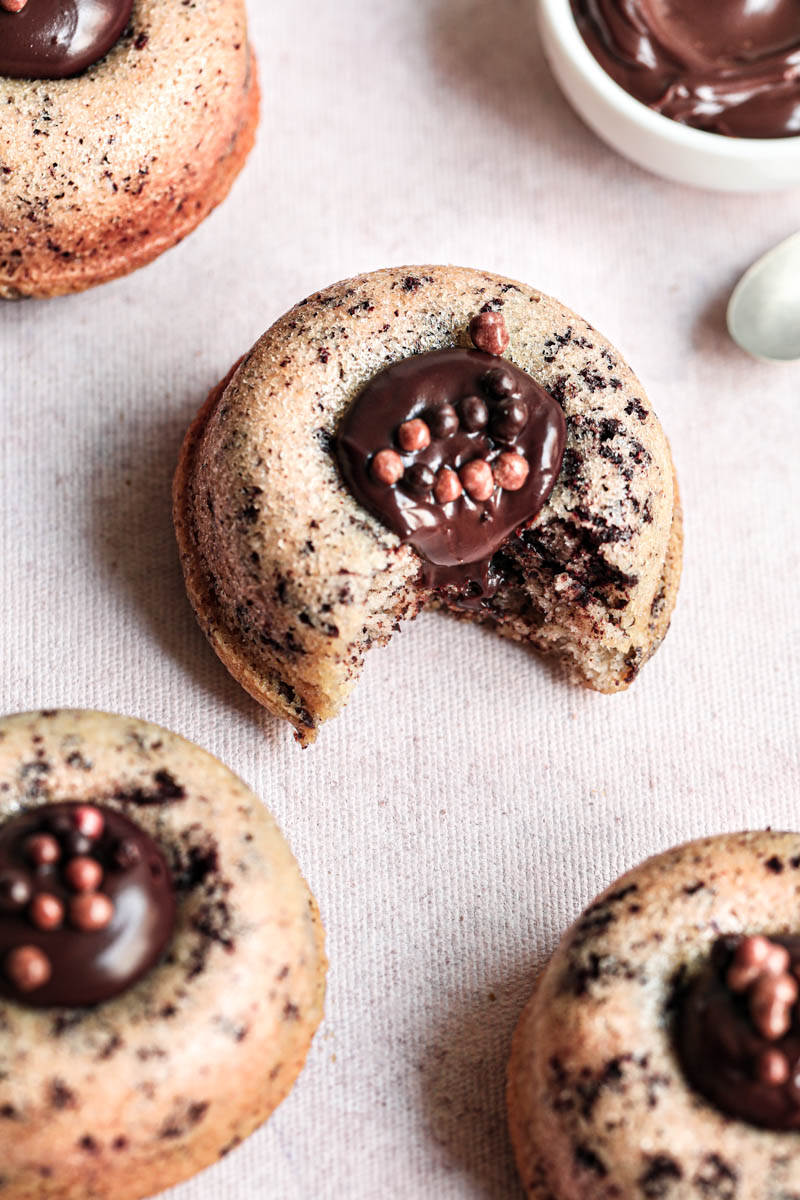
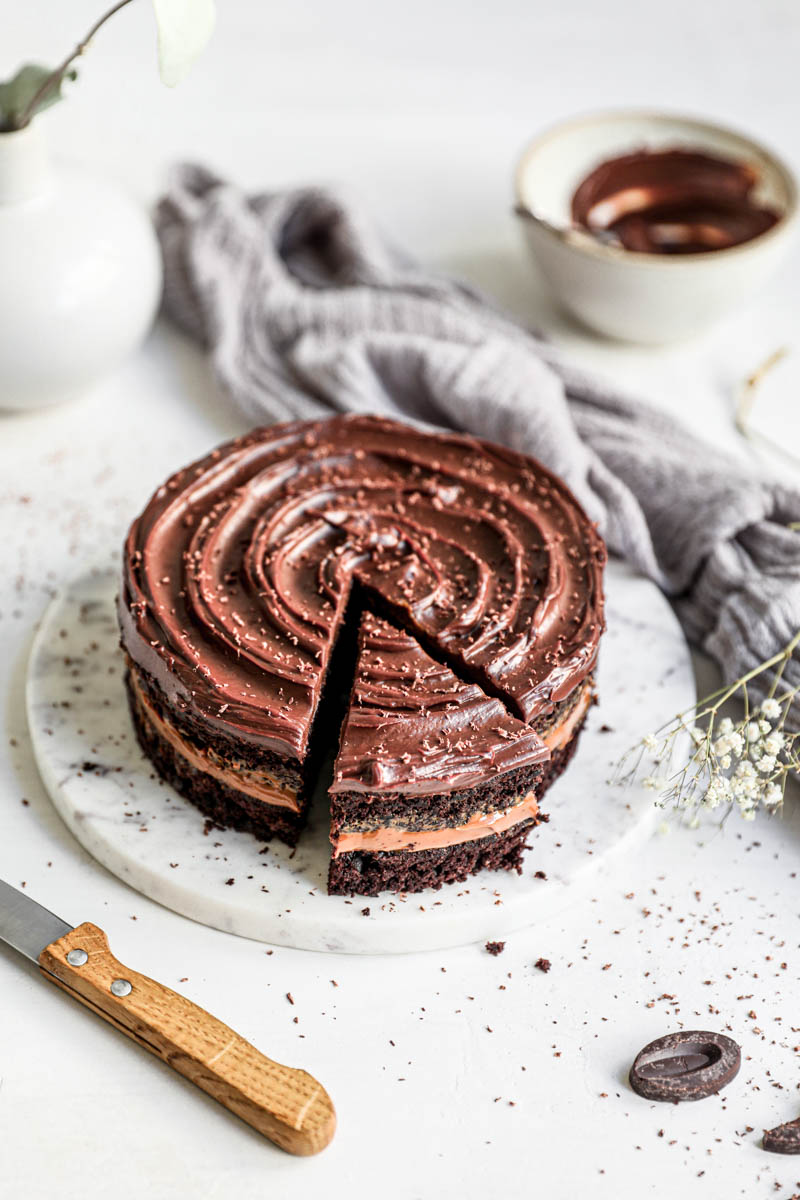
- To make dark chocolate ganache frosting for cake: Leave the ganache to set overnight, at room temperature properly covered in saran wrap. Once it is properly set, use it to frost and fill cakes, cupcakes, or .
- To make dark chocolate ganache filling: Let it set overnight, then use to fill cakes, macarons, etc.
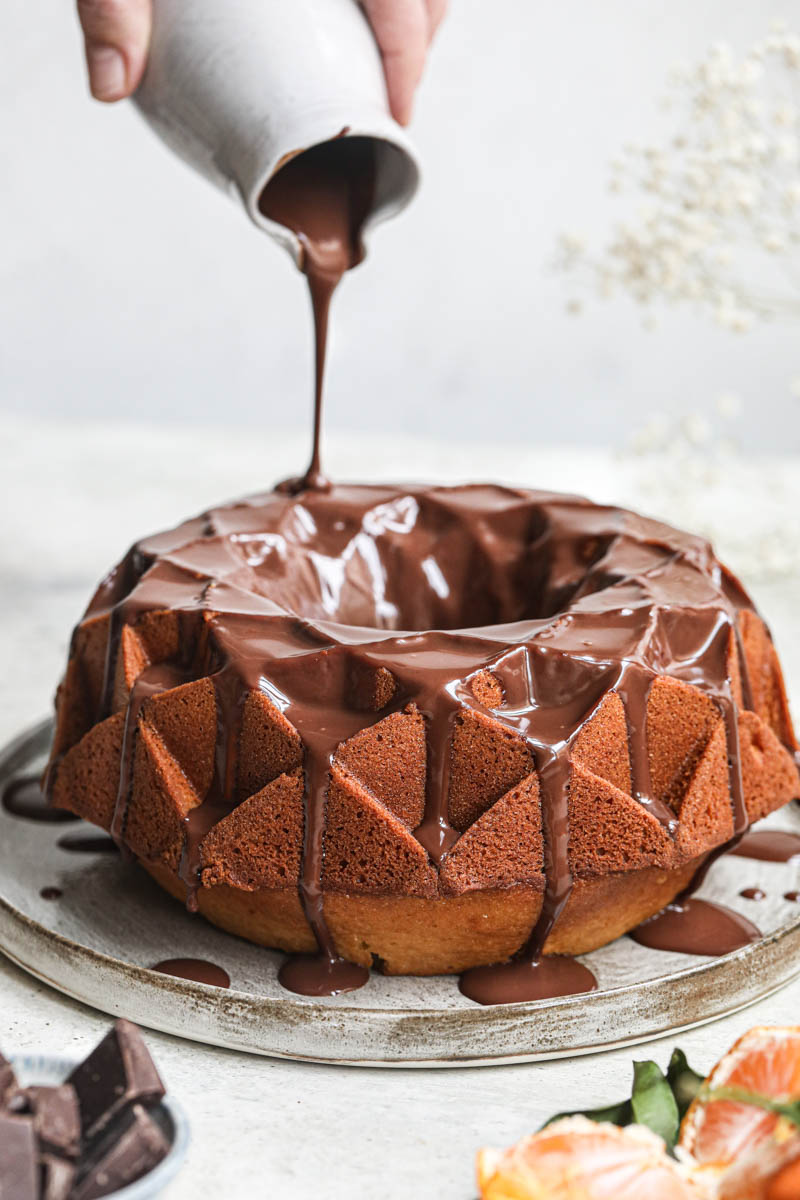
- To make chocolate ganache glaze or icing: Let it set at room temperature for 30 to 40 minutes. You will notice it begins to thicken, but it is still fluid enough to pour over your cake or Bundt cake.
- To make glaze for tarts and pies: Once the ganache is smooth and shiny, pour directly over the surface of your pie or tart - as is the case for this salted caramel tart and this chocolate mousse pie.
- To make ganache truffles: Ganache must set overnight first to be able to shape and make the truffles. You can find a great recipe here.
- To make chocolate ganache tart: It must be poured directly into the baked tart shells once it is done, and before it sets, as it will set inside the tart shell.
- To pipe onto a cake or tart: Ganache must set overnight, then place in a piping bag and used to decorate your baked goods.
- To make whipped dark chocolate ganache: Once the mixture is done, transfer the ganache to a hermetic container and cover with saran wrap before closing the container and refrigerate overnight. When you are ready to use, whisk using an electric mixer until you have obtained soft peaks. Use to decorate cupcakes, or this chocolate hazelnut cake.
If you made this recipe I would really appreciate it if you leave a rating or comment below! Also, if you share on social media please use #cookwithbelula, I would love to see what you create!
